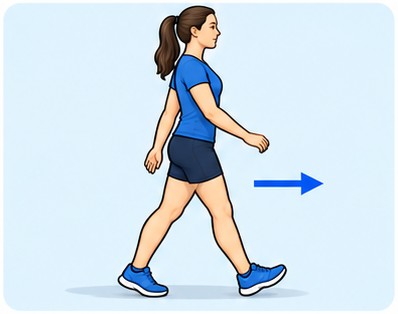
1. Comfortable walking
Start with 5–10 minutes, once or twice daily.
- Action.
- Walk at an easy pace on level ground. Break longer walks into short bouts.
- Technique.
- Keep a comfortable stride. Add 1–2 minutes only after several well-tolerated outings.
Back Pain Doctor
Back Pain Doctor · Dr Joshua Hatch · backpaindoctor.com.au
Psoriatic Arthritis
Progressive rehabilitation and graded return to activity
Before you start
Use this programme for an assessed condition when exercise is appropriate. An acute fracture, tendon rupture, unstable injury or recent operation may need different restrictions. Any specific protection or surgical instructions take priority.
Psoriatic arthritis can affect joints, tendon attachments and the spine. Rehabilitation complements rheumatology-directed disease control.
Maintain comfortable motion and build strength without repeatedly aggravating swollen joints or entheses.
Mild familiar discomfort up to about 3 out of 10 may be acceptable if steady and movement stays controlled. Sharp or increasing pain is a reason to stop. Pain, swelling and function should return to baseline by the next morning. This is a practical guide, not a proven safety threshold.
Temporarily reduce impact on painful tendon attachments and loading of an acutely swollen joint. New eye pain or significant neurological symptoms need review.
When symptoms increase
Reduce the provoking movement, repetitions or resistance by about one third to one half. Keep other comfortable activity where appropriate. Do not add harder exercise until the response is stable. A sudden major change needs assessment.
Begin with one set if needed. Practise gentle movement daily if it helps; perform strengthening on 2–3 non-consecutive days each week. Rest 30–60 seconds between easy sets. You do not need to force the full dose on the first day.
Start with 5–10 minutes, once or twice daily.
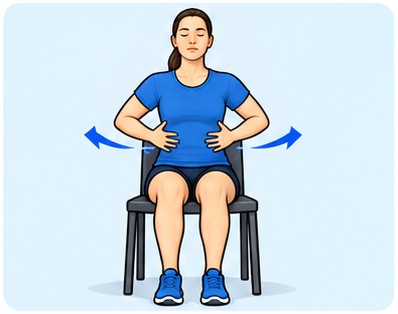
5–8 slow breaths, 1–2 times daily.
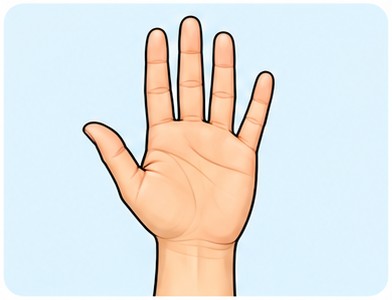
5–10 repetitions, once or twice daily.
Ready for Phase 2
The starting dose is manageable and daily function is stable. Reduce the dose if fatigue or symptoms remain increased after recovery.
Temporarily reduce impact on painful tendon attachments and loading of an acutely swollen joint. New eye pain or significant neurological symptoms need review.
Use 2–3 non-consecutive strength days each week and rest 60–120 seconds between sets. Begin with a resistance that leaves a few controlled repetitions in reserve. Add repetitions first, then a small amount of resistance.
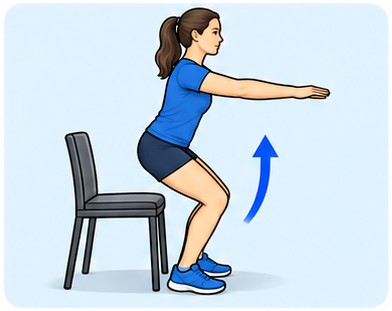
2–3 sets of 6–12.
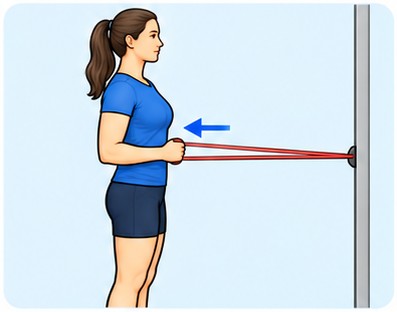
2–3 sets of 10–15.
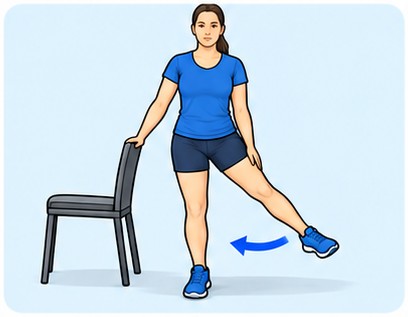
2–3 sets of 10–15 each side.
Ready to add Phase 3
Complete the strength work with safe technique and stable symptoms, without compromising walking or transfers afterwards.
Maintain comfortable motion and build strength without repeatedly aggravating swollen joints or entheses. When the top repetition range is easy on several sessions, increase resistance slightly and return to the lower end. Keep the range and movement quality consistent. Avoid increasing weight, repetitions and frequency together.
Continue strength work on 2–3 days weekly. Add one new demand at a time. If impact is part of the programme, allow 48–72 hours between demanding impact sessions initially and reduce the strength volume on those days.
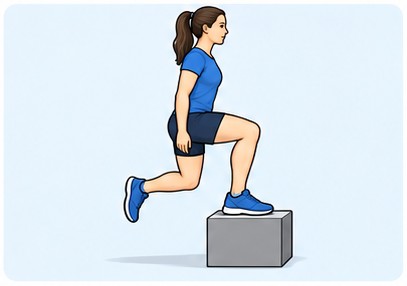
2–3 sets of 8–12 each leg.
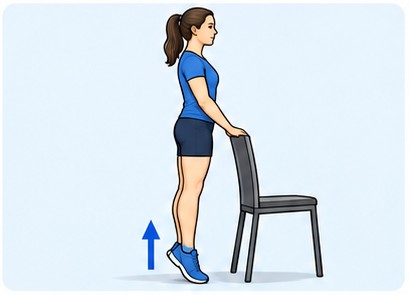
2–3 sets of 10–15.
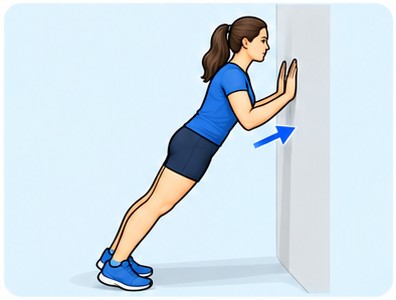
2–3 sets of 8–12.
Ready to increase real activity
Progress activity based on function, recovery and medical disease control. Falls risk, frailty, significant fatigue or structural bone risk may warrant supervision.
Increase fitness and strength gradually while tracking disease activity and recovery. The final stage should reflect the real task: carrying, lifting, stairs, walking, running or sport. You can finish rehabilitation for daily life without needing to complete running or jumping drills that your activity does not require.
Increase fitness and strength gradually while tracking disease activity and recovery.
| Stage | What to build |
|---|---|
| Everyday function | Use comfortable movement and daily tasks in manageable blocks. Establish a stable next-day response. |
| More demanding activity | Increase duration before adding substantial load, speed, hills or more complex positions. |
| Specific work or sport | Practise the actual task at reduced intensity and duration, then progress it on separate occasions. |
| Full participation | Complete the required activity repeatedly with control and confidence, without a significant next-day flare. Injury-specific clearance may still be needed. |
Use 2–3 non-consecutive strength days, with comfortable mobility or easy activity between them. Start a new activity at less than your usual duration or intensity. Keep harder sessions apart and leave more recovery time when symptoms are still increased. For tendon loading, the condition-specific frequency on the exercise pages takes priority.
Continue useful strengthening about twice weekly after recovery, alongside regular activity. Break long or repetitive tasks into manageable periods and maintain a plan for a temporary flare. A flare does not automatically mean new damage, but a different or progressive symptom needs assessment.
Seek prompt assessment for inability to bear weight, a hot red swollen joint, progressive weakness or numbness, a focal bony pain or major new swelling. Sudden calf swelling, chest pain or breathlessness needs urgent assessment. Book reassessment if progress has stalled for 4–6 weeks, function is deteriorating or the same progression repeatedly causes a flare. Do not wait for that interval when a warning symptom is present.
The programme follows current rehabilitation principles. Exercise selection, sets and progression checks are practical starting prescriptions rather than a trial-validated complete protocol.
Dr Joshua Hatch | The Back Pain Doctor. Handout prepared 1 Nov 2026.